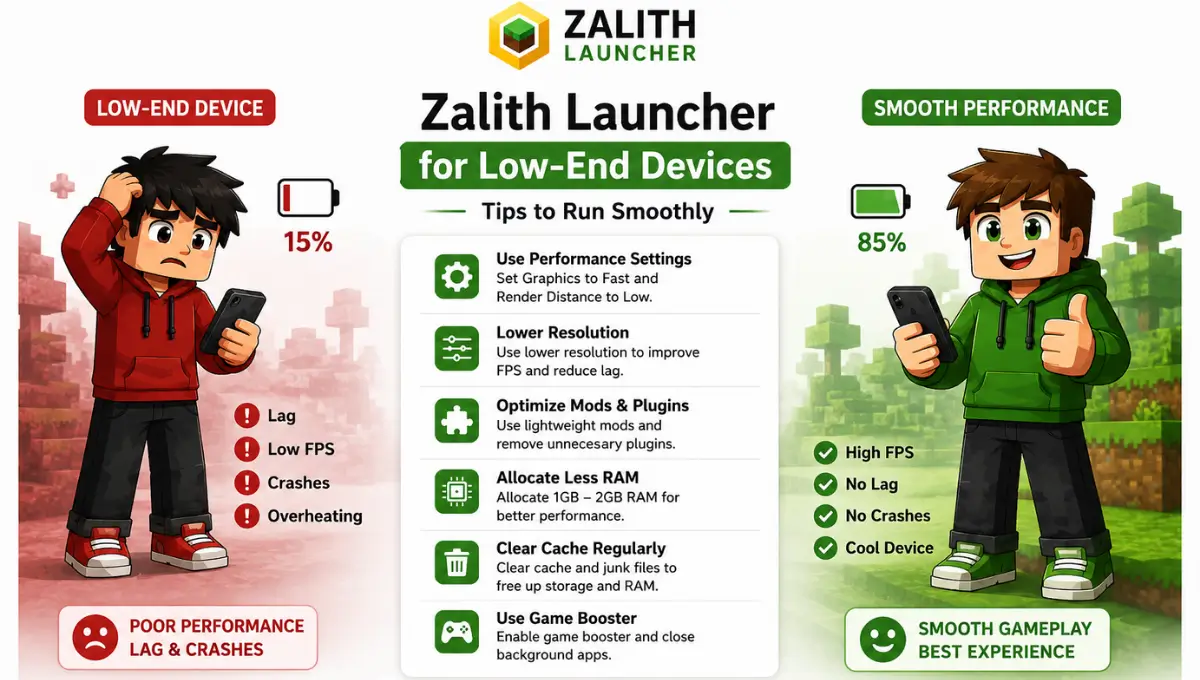
Zalith Launcher for Low-End Devices — Tips to Run Smoothly
Not everyone reading this is holding a fresh flagship phone and that is fine because Zalith Launcher was never built with the assumption that you would be. Plenty of players are running Minecraft Java Edition on a 3GB or 4GB device that is a few years old and wondering why the game stutters the moment a village loads in. The good news is that most of that lag has nothing to do with your phone being too weak and everything to do with settings that were never tuned for it in the first place.
This guide walks through exactly what to change inside Zalith Launcher renderer choice RAM allocation graphics settings and the handful of mods that genuinely help rather than just adding more visual noise for your GPU to chew through. None of this requires root access or a warranty voiding trick. It is all inside the launcher already, you just need to know where to look and what to actually touch.
Why Low-End Devices Struggle With Java Edition
Minecraft Java Edition was designed around a desktop JVM and a real graphics card talking directly to OpenGL. Phones do not speak OpenGL natively so Zalith Launcher has to translate every rendering instruction into something your Android GPU can actually process before a single block even appears on screen. That translation step alone costs performance before you have loaded a world.
On top of that every chunk Minecraft renders every mob every particle and every block entity adds to what your CPU and GPU need to calculate each frame. On a gaming PC that overhead barely registers. On a phone with 3GB or 4GB of RAM and a mid tier chipset it is the difference between a smooth session and one that stutters every time you turn your camera. Settings that feel irrelevant on desktop such as render distance and entity shadows have an outsized effect here simply because there is so much less headroom to work with.
Quick Wins at a Glance
Before getting into the detailed breakdown here is what actually moves the needle the most on a weaker device.
Change These Settings First
Mods Worth Installing
Picking the Right Renderer for Your Chip
The single biggest performance lever inside Zalith Launcher is the renderer setting and most people never touch it. Three main options exist and the right one depends entirely on your GPU rather than on which one sounds the most advanced.
OpenGL ES is the original compatibility path and it works everywhere but it also carries the most translation overhead. GL4ES sits close to it and can be more stable on very old chipsets even if it rarely wins any speed contest. Zink, which runs on top of Vulkan, is the newer option and on a device that actually supports Vulkan properly it tends to outperform both of the others by a noticeable margin. The catch is that Zink’s gains depend heavily on how good your specific GPU driver is, so what works brilliantly on one phone can behave inconsistently on another even within the same chipset family.
The only real way to know which one is fastest on your exact device is to test all three in the same world for a couple of minutes each and compare. Do not assume Vulkan is automatically better just because it is newer.
| Renderer | Best For | Trade-off |
|---|---|---|
| OpenGL ES | Very old chipsets and maximum compatibility | Slowest of the three but the most stable everywhere |
| GL4ES | Budget devices where Zink misbehaves | More stable than Zink on weak GPUs but not much faster |
| Zink (Vulkan) | Mid range and newer chipsets with solid Vulkan drivers | Fastest option but results vary by GPU driver quality |
The Settings That Actually Matter
The settings that actually matter are the ones that have a noticeable effect on how the game feels. With Zalith Launcher you do not need to change everything at once. Start with render distance and simulation distance because these can quickly affect FPS. Next adjust graphics quality and particles if the game still feels heavy. Zalith Launcher also gives you options for memory allocation so you can give Minecraft enough RAM without taking too much from Android. For smoother gameplay Zalith Launcher users should also check the renderer and choose the option that works best with their device. Once these settings are balanced Zalith Launcher can deliver a much smoother experience without making the game look bad.
| Setting | Default | Recommended for Low-End |
|---|---|---|
| Render distance | 10 to 12 chunks | 6 to 8 chunks |
| Graphics quality | Fancy | Fast |
| Entity shadows | On | Off |
| Smooth lighting | Maximum | Off or Minimum |
| Particles | All | Decreased or Minimal |
| Max framerate | Unlimited | 30 to 60 FPS capped |
| Clouds | Fancy | Off |
Read More: zalith launcher add plugins
Getting RAM Allocation Right
It can be tempting to give Minecraft as much RAM as your phone allows but Zalith Launcher does not always perform better with a higher allocation. Android needs enough memory to keep the system responsive and giving too much RAM to Minecraft can cause slowdowns on lower-end devices. When using Zalith Launcher keep your RAM allocation around 60 to 70 percent of your total RAM as a practical starting point. This leaves enough memory for Android and background processes. With Zalith Launcher the goal is balance rather than simply choosing the highest RAM value available.
| Total Device RAM | Suggested Allocation | Realistic Expectation |
|---|---|---|
| 2GB to 3GB | 1GB to 1.5GB | Vanilla survival only, no shaders |
| 4GB | 1.5GB to 2GB | Light resource packs, no heavy shaders |
| 6GB | 2.5GB to 3.5GB | Fabric mods with light optimization mods |
Handing Minecraft too much memory leaves nothing for Android itself which causes more crashes than it prevents. Stay near 60 to 70 percent of your total RAM.
Chunk and shader cache data builds up quietly over weeks of play. Clearing it from time to time gives the launcher a clean slate and can noticeably help long sessions.
Shaders That Actually Run on Weak Hardware
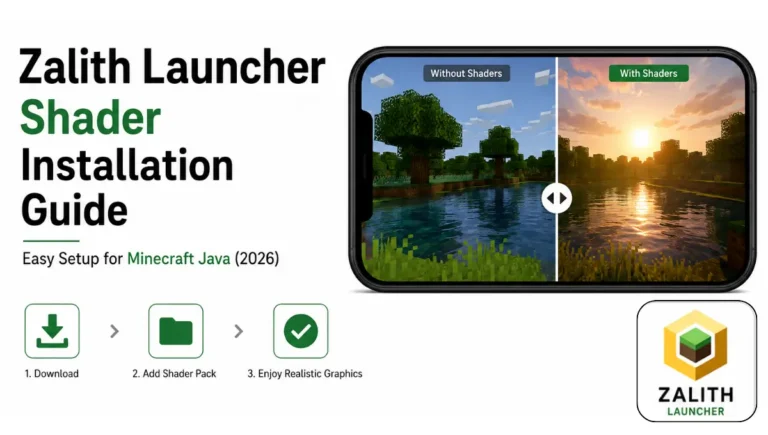
Zalith Launcher Shaders are often the first feature people drop when their phone is not powerful enough but Zalith Launcher can still handle lightweight shader packs designed for mobile hardware. They may not deliver the same visual quality as Complementary or BSL on a gaming PC but they can add better lighting shadows and atmosphere without destroying your FPS. With Zalith Launcher you can start with lightweight shaders and adjust render distance or graphics settings if performance drops. The right shader choice can make Zalith Launcher look much better while keeping gameplay smooth on mid-range Android devices.
Setting It All Up Step by Step (Zalith Launcher)
Setting everything up in Zalith Launcher is easier when you change one thing at a time. Start by choosing the Minecraft version you want to play then allocate around 60 to 70 percent of your phone’s RAM. Next select a suitable renderer and keep render distance moderate if your device is not powerful. After that install your preferred mods or shader packs and test the game before adding more. Zalith Launcher users should also check graphics quality and particle settings to find a balance between visuals and FPS.
Test All Three Renderers
Switch between OpenGL, Zink, and GL4ES inside settings and note the FPS you get in the same spot for each one.
Set RAM Allocation Using the Table Above
Match your allocation to your total device RAM rather than picking the highest number the slider allows.
Lower Render Distance and Graphics Quality
Drop to 6 or 8 chunks and switch graphics quality to Fast before touching anything else in video settings.
Install Sodium or Embeddium
Add the matching optimization mod for your loader before installing any shader pack so the baseline is already fast.
Add a Lightweight Shader If You Want One
Pick from the low-end friendly shader list above rather than jumping straight to a heavy pack built for desktop GPUs.
Keep the Device Cool During Long Sessions
Avoid direct sunlight, close background apps, and take a short break if the phone starts feeling warm to the touch.
Why Performance Drops the Longer You Play (Zalith Launcher)
If your frame rate is fine for the first ten minutes and then quietly drops as the session goes on the settings are probably not the problem, your chipset is throttling itself. Budget processors reduce their own clock speed once they hit a certain temperature to avoid damage and that happens faster on phones without much internal cooling.
Playing in direct sunlight or with a thick phone case makes this worse since heat has nowhere to go. Closing background apps before you start and keeping the phone in the open rather than in a case during long sessions genuinely helps here, it is not just folklore. If you notice the drop happening around the same point every time that is a strong sign it is thermal rather than a setting you can fix in the launcher.
FAQs
Quick answers to the questions low-end device players ask most.
Conclusion
A low-end phone does not mean you are locked out of Java Edition on Android, it just means the defaults were never tuned with your device in mind. Testing renderers properly, allocating RAM sensibly, trimming render distance and shadows, and adding Sodium or Lithium before anything visual gets you most of the way to a smooth experience without spending a rupee on new hardware.
Start with the quick wins at the top of this guide, work through the step by step section once, and keep an eye on heat during longer sessions. Most players who think their phone simply cannot run Minecraft well have never actually touched these settings, and that alone tends to be the entire fix.